A model test shoot does not need six outfits, four lights and a full production crew.
It needs a clear brief, two strong looks and enough time to make the model comfortable in front of the camera.
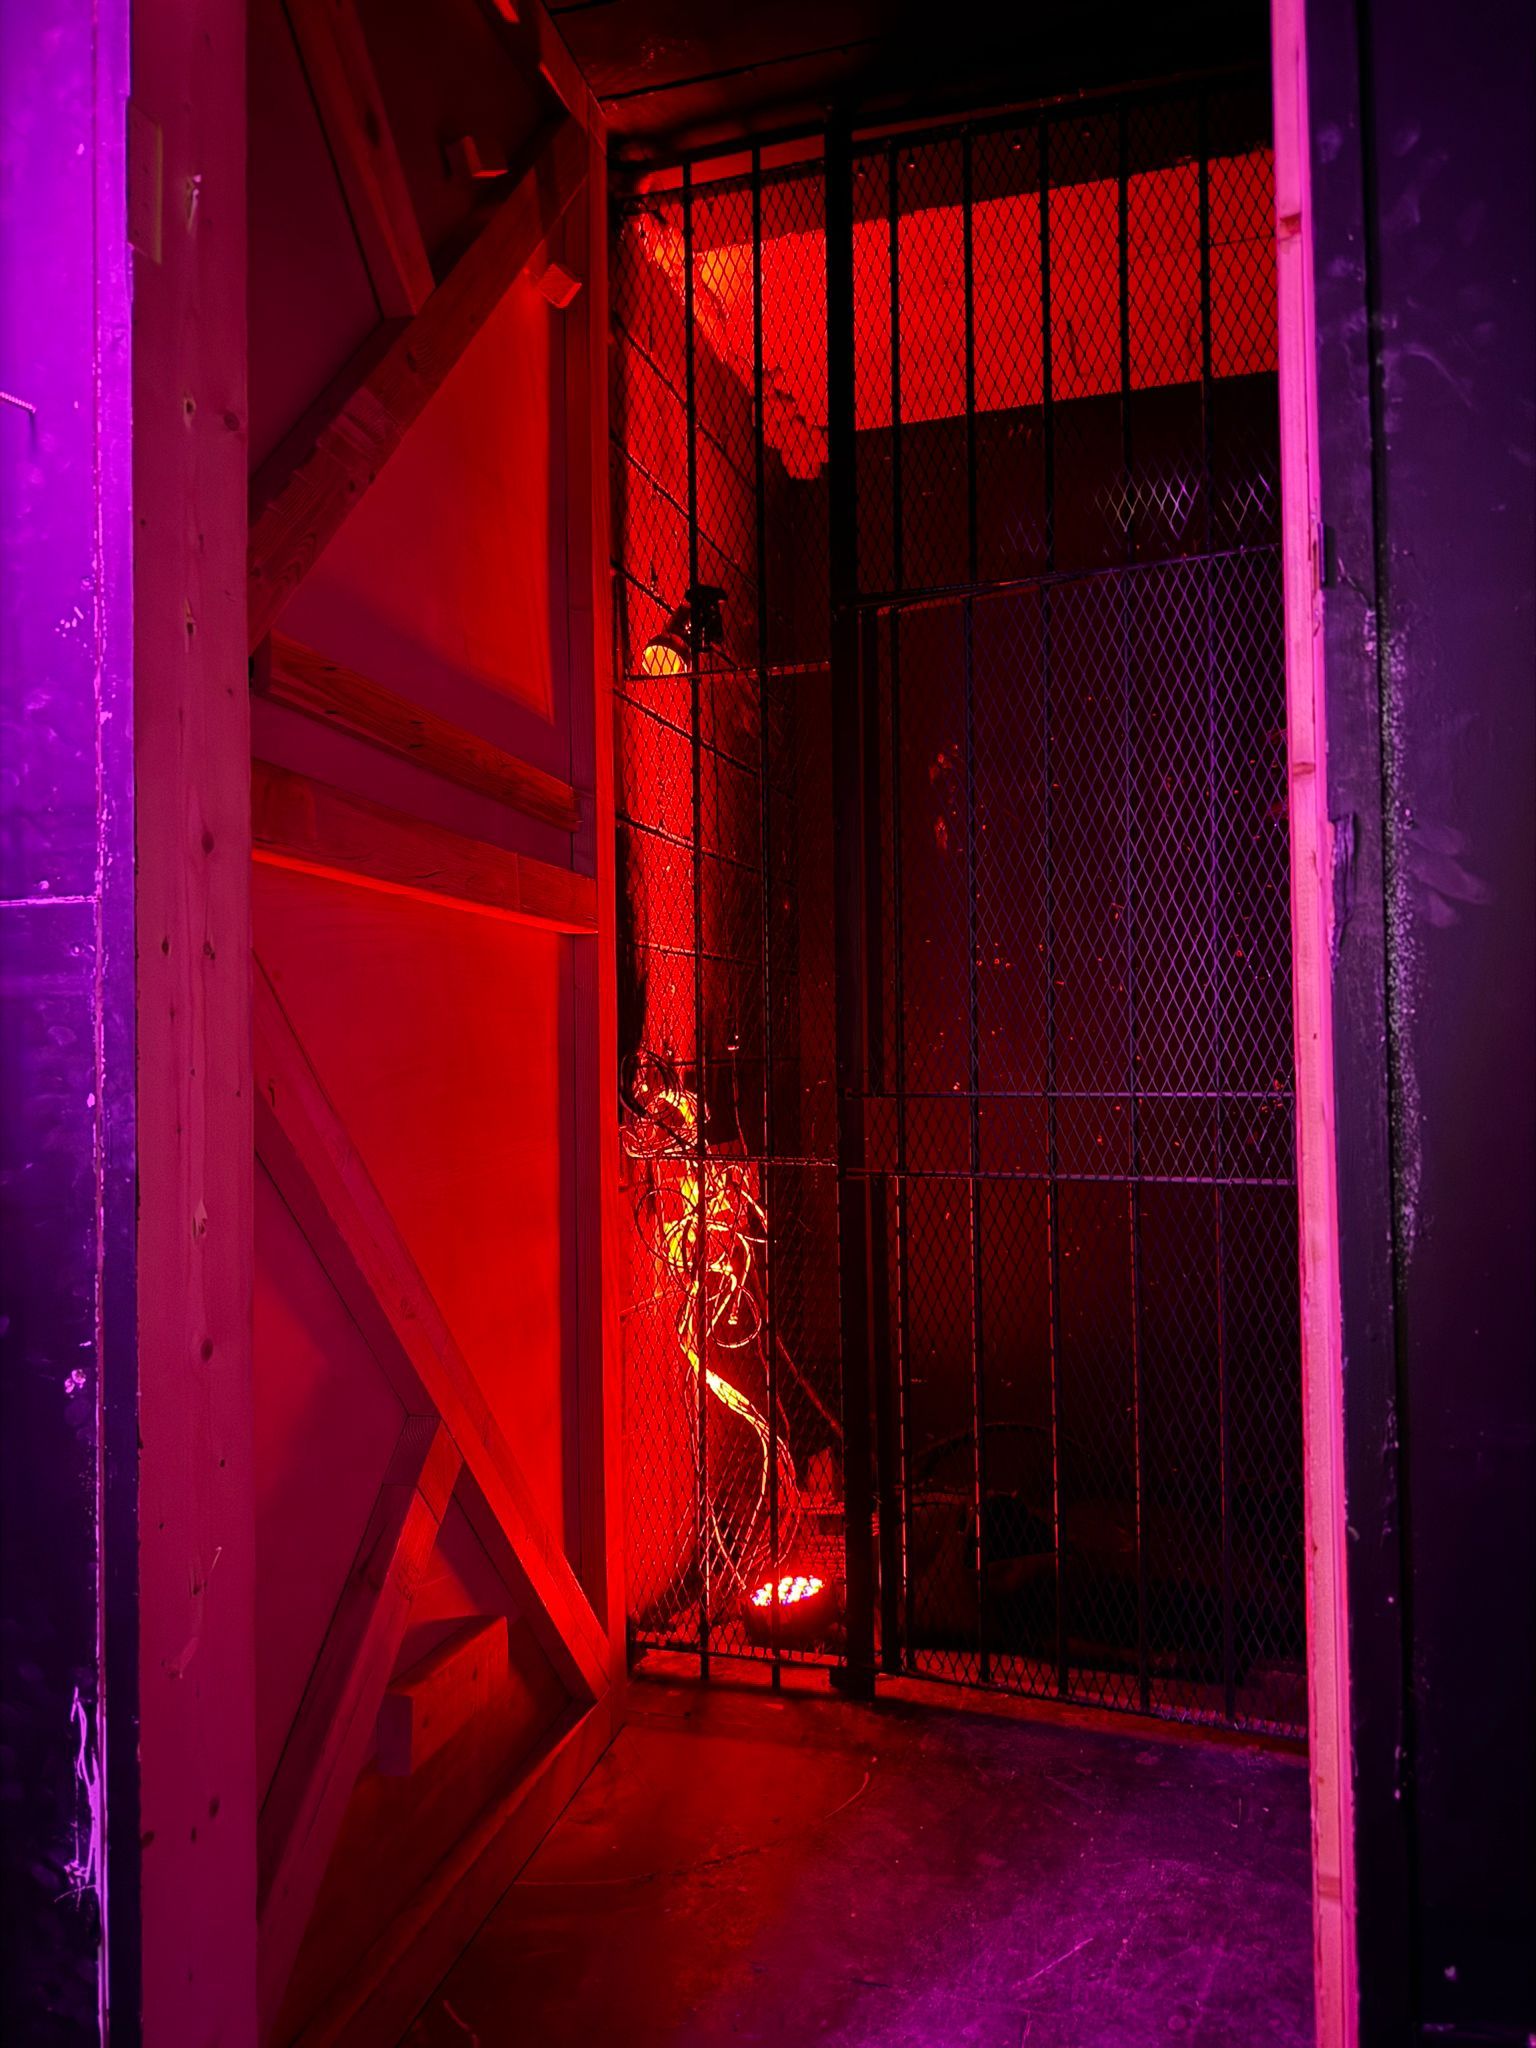
A dark industrial studio gives you a useful starting point. The surfaces already have texture. The shadows already have depth. You can add one key light, bring in a controlled accent colour and build a full test shoot without constructing a set from scratch.
This guide covers how to run the day in a photography studio Hackney setup, using two looks across four hours.
At @38 in Clapton E5, you get the exclusive main floor, raw brick, dark wood, industrial structures, coloured lighting and a separate studio room for talent or changing.
Shoot hire starts from £600 for up to 4 hours.
Start with the brief
A test shoot should show range without losing consistency.
Before you arrive, decide what the images need to prove:
- Clean agency-style portraits
- Full-length images that show proportions
- A strong editorial look
- Natural expressions and movement
- Enough variety for a portfolio or casting submission
Do not arrive with a vague plan to “see what happens”.
Plan two distinct looks:
- Wide texture look: the model works within the space. Show the brick, timber, steel, floor and coloured light.
- Tight portrait look: the model becomes the focus. Use controlled light, closer framing and less background information.
Two looks are enough for four hours. More than that usually means less time shooting each one.
Pack the right lenses
You do not need a full lens case.
Bring one lens for the environment and one for the portrait work.
Look one: 35mm or 50mm for texture
Use a 35mm lens on full frame when you want to show the model and the room together.
It gives you enough width for full-length frames without making the space feel exaggerated. Keep the camera level and avoid placing the model too close to the edge of the frame. Wide lenses can stretch limbs and features when used carelessly.
A 50mm lens is a safer option if you want a more natural perspective. It still shows enough of the industrial setting, but gives the model more visual weight.
Use this look for:
- Full-length images
- Standing poses
- Walking or turning movement
- Seated portraits
- Frames that include the architecture
- Images for editorial or lookbook use
Start around f/4 to f/5.6 if you want the model separated from the background while keeping the environment readable.
Look two: 85mm for the portrait
An 85mm lens is a reliable portrait choice.
It compresses the background slightly and gives facial features a natural perspective. It also lets you work at a comfortable distance from the model, which helps the interaction stay relaxed.
Use it for:
- Headshots
- Tight beauty portraits
- Three-quarter frames
- Side profiles
- Expression changes
- Details in styling, skin and makeup
Start around f/2.8 to f/4. At wider apertures, focus becomes less forgiving. Make sure the eye nearest the camera is sharp before moving through a sequence.
If you only want to bring one lens, use a 24–70mm zoom. It will cover most of the day and let you move between wide and tight frames quickly.
One prime plus one zoom is enough. Do not spend the booking changing lenses every five minutes.

Build the lighting around one key
Keep the lighting simple.
Start with one key light. Add colour through the existing environment or a small accent source.
A medium softbox is a useful choice for a model test. It gives you controlled, flattering light without flattening the face completely.
Place the key:
- Around 45 degrees from the model
- Slightly above eye level
- Angled down towards the face
- Close enough for soft fall-off
- Far enough to keep the model moving naturally
Begin with the key light on its own. Turn off anything that creates unwanted mixed colour. Make a test frame before the model enters.
You want to see where the light falls on the face, clothing and floor.
Then add the accent.
At @38, the main floor supports purple-to-red colour across the industrial surfaces. Use that colour as a controlled layer behind the model, not as the main source on the face.
Purple works well for a cooler editorial look. Red pushes the image towards something heavier and more direct.
Keep the model’s skin tones readable. Let the background carry the colour.
For the wide look
Keep the key slightly softer and more frontal.
Let the background remain visible. Use the industrial surfaces as part of the image rather than hiding them in black.
Place the model several feet away from the wall or structure where possible. That gives you separation and stops the key light from creating a flat shadow directly behind them.
For the tight look
Move the key further to the side.
This creates more shape across the face and allows the shadow side to fall away. You can add a low-powered rim or accent light from behind if the model needs separation from the darker background.
Do not add a second light just because you have one available.
One key and one controlled colour source will usually give you more consistency than a complicated setup that takes half the session to adjust.
Use the surfaces properly
An industrial space gives you more than a backdrop.
Use the room in layers:
- Put the model in front of raw brick for texture.
- Use dark timber for warmer contrast.
- Shoot along the floor to create leading lines.
- Frame through a metal structure.
- Use the staircase for seated and lower-angle poses.
- Let a darker corner reduce distractions in the tight portraits.
- Place the model beside, not directly against, the wall.
The space should support the model. It should not become a location scout’s portfolio.
Check the frame before each sequence. Look behind the head. Check bright edges. Remove anything that pulls attention away from the subject.
Raw does not mean careless.

The four-hour schedule
A half-day booking gives you up to four hours. Plan the clock before you start.
00:00–00:35 : Load in and set the room
Use the first 35 minutes to:
- Bring in cameras, lights and stands
- Choose the first shooting area
- Clear cable paths
- Set the key light
- Select the purple or red accent
- Mark the model’s standing position
- Check exposure and white balance
- Take test frames before the model is ready
Keep the first setup simple. You can refine it once the model arrives.
00:35–01:50 : Look one: wide texture
Start with the easiest frames.
Give the model time to settle. Begin with neutral standing poses before asking for stronger movement or expression.
Work through:
- Full-length front-facing frames
- Three-quarter body angles
- Side profile
- Seated images
- Walking or turning movement
- Wider frames that show the space
Use the 35mm or 50mm lens. Stay consistent with your height and framing before changing the angle.
Ask for small adjustments:
- Turn your shoulders slightly.
- Drop your chin.
- Shift your weight.
- Look past the camera.
- Bring your hands away from your body.
- Hold that position.
Small changes produce more usable images than constant direction.
01:50–02:20 : Changeover
Allow 30 minutes for:
- Wardrobe change
- Hair and makeup adjustment
- Moving to a different surface
- Shifting the key light
- Changing the accent colour
- Checking new framing
Use the separate studio room at @38 as a practical holding and changing space. Keep the main floor clear for the camera and lighting setup.
Do not rebuild everything. Change the mood, not the whole production.
02:20–03:45 : Look two: tight portrait
Move to the 85mm lens or the longer end of your zoom.
Push the key light further to the side. Keep the background darker and let the purple-to-red lighting sit behind the model.
Shoot:
- Clean headshots
- Neutral expression
- Soft expression
- Direct eye contact
- Three-quarter portrait
- Profile
- Close detail
- A few frames with movement
Check focus regularly. Dark spaces and shallow apertures can make autofocus less reliable, especially when the model turns quickly.
Give the model time to pause between expressions. The strongest portrait may appear after the obvious pose has finished.
03:45–04:00 : Review and wrap
Before you pack down, check that you have:
- Clear headshots
- Full-length images
- At least one strong profile
- A range of expressions
- Images that show the model’s proportions
- A few frames with visible industrial texture
- A few tighter portraits with controlled colour
Back up the files before leaving if possible.

Keep the model comfortable
A test shoot is also a working relationship.
Explain the plan before you start. Tell the model how many looks you are shooting, when the changeover happens and what kind of images you need.
Avoid giving five directions at once.
Use clear prompts. Let the model repeat a pose. Show a useful frame when you need to explain the adjustment.
The aim is not to make the model perform a complicated concept. It is to create images that show how they move, listen, adapt and work in front of the camera.
That matters to agencies, clients and future collaborators.
Book the room
If you are looking for a photography studio Hackney can offer with more texture than a white cyclorama, @38 gives you a ready-made industrial base.
You get:
- Exclusive main floor access
- Raw brick, dark wood and industrial surfaces
- Purple, red, teal and blue lighting potential
- Track lighting for your own kit
- Power throughout
- A separate studio room for talent and changing
- Parking by arrangement for equipment vans
- No set build required
Main Floor half day: £600 for up to 4 hours.
Full day: £1,100 for up to 8 hours.
Clapton · Hackney · London E5.
View the shoot space or book a shoot day. We respond within 24 hours.
What is your best model test-shoot tip: lens choice, lighting, posing or timing? Comment below and share it with other photographers. Then DM @38 or book your session at at38.org.
Leave a Reply