One shoot day can give you weeks of content. But only if you plan the calendar before you plan the camera setup.
Start with the posts you need to publish. Work backwards to the shots, formats and setups that will make them. That’s how one booking becomes a useful batch of video, stills, audio and cutaways, not a hard drive full of footage you’ll “get round to editing.”
Start with the calendar, not the camera
Map out the next four weeks. For every planned post, note the date, platform, subject, format and call to action. Keep it simple. A spreadsheet or calendar is enough.
For example, one month might need:
- One horizontal hero video for your website or YouTube
- Four short vertical clips for Reels, TikTok or Shorts
- Two still-image posts
- A set of product or behind-the-scenes details
- One audio-led clip or interview extract
- A few spare shots for stories and future edits
That list gives your shoot a job. It also shows what you don’t need to film.
Group ideas by topic or content pillar. If you’re launching a product, you might have a main introduction, a quick demonstration, answers to common questions and a few close-up details. Those are different posts, but they can come from the same shoot.
Before the shoot, label each idea must-have, useful or if there’s time. Protect the key assets first. The optional shots can fill the gaps later.

Build a shot list that connects to the month
Your shot list should tell the crew what to capture and tell the editor where each clip belongs.
For each asset, include:
- Post date or week
- Platform and format
- Hook or subject
- Set, wardrobe and props
- Orientation: vertical, horizontal or both
- Must-have details: lines, actions or product shots
- Call to action
Give each shot a short ID that matches your calendar. Something like Wk2-Reel03-HookA-Vertical is easier to find later than final_take_new2.
Write each video as a set of small parts: opening hook, main point, proof or example, and close. Capture a couple of opening lines if the hook matters. You can choose the strongest one in the edit instead of reshooting the whole piece.
This is where the calendar and production plan meet. The calendar tells you what needs to go out. The shot list tells you what to capture.
Batch by setup, not by post date
The calendar runs in publishing order. The shoot day shouldn’t.
Film all the content that shares the same camera position, lighting, background and wardrobe before changing anything. Record your talking-head pieces together. Then capture product demonstrations. Then portraits and stills. Finish with close-ups, cutaways and behind-the-scenes moments.
That means less time moving lights and resetting the camera. It also gives your editor a more consistent set of footage.
A simple run of day might look like this:
- Set up and test the main interview or presenter angle.
- Record the hero video and its short supporting clips.
- Capture alternate hooks, direct-to-camera answers and clean audio.
- Switch to product, hands-on or demonstration shots.
- Take stills and thumbnails while the lighting is already set.
- Capture detail shots, transitions and behind-the-scenes footage.
- Check the shot list before packing down.
Leave time for a few pick-ups. A schedule with no breathing room tends to lose the very clips that make the edits feel complete.
Film vertical and horizontal deliberately
A horizontal shot is not automatically a good vertical shot after cropping. The subject may end up too far to one side, or essential details may disappear outside the crop.
Decide which format each asset needs before you roll. Capture vertical for vertical-first posts. Capture horizontal for websites, YouTube and other wide placements. For key moments you need in both formats, frame and record each version intentionally, with a second camera or a planned second take.
Keep the main subject clear of the edges. Check the framing on the actual camera monitor, not just in your head. If you’re planning to add captions, graphics or platform text, leave room for them too.

Capture the material between the lines
The main speech is only part of the content. Cutaways and details give your editor options, help cover edits and make a post feel specific to the shoot.
Get close-ups of hands, tools, packaging, surfaces and small actions. Film someone entering the room, resetting a prop, adjusting a light or checking a monitor. Take a few wide shots to establish the space, then tighter details for pace and texture.
For audio, record a clean version of spoken lines where you can. Leave a moment of silence before and after each take. Capture room tone if your edit needs it. And if you’re filming a podcast or interview, record separate short extracts that can stand alone as clips, not just one long conversation and the hope that something usable is hiding in it.
A few useful details can stretch a hero shoot into multiple edits. They can also carry a post when the main footage needs to be trimmed down.

Use one booking to create more than one look
A single room can produce a consistent batch. Two connected spaces can give the month more range.
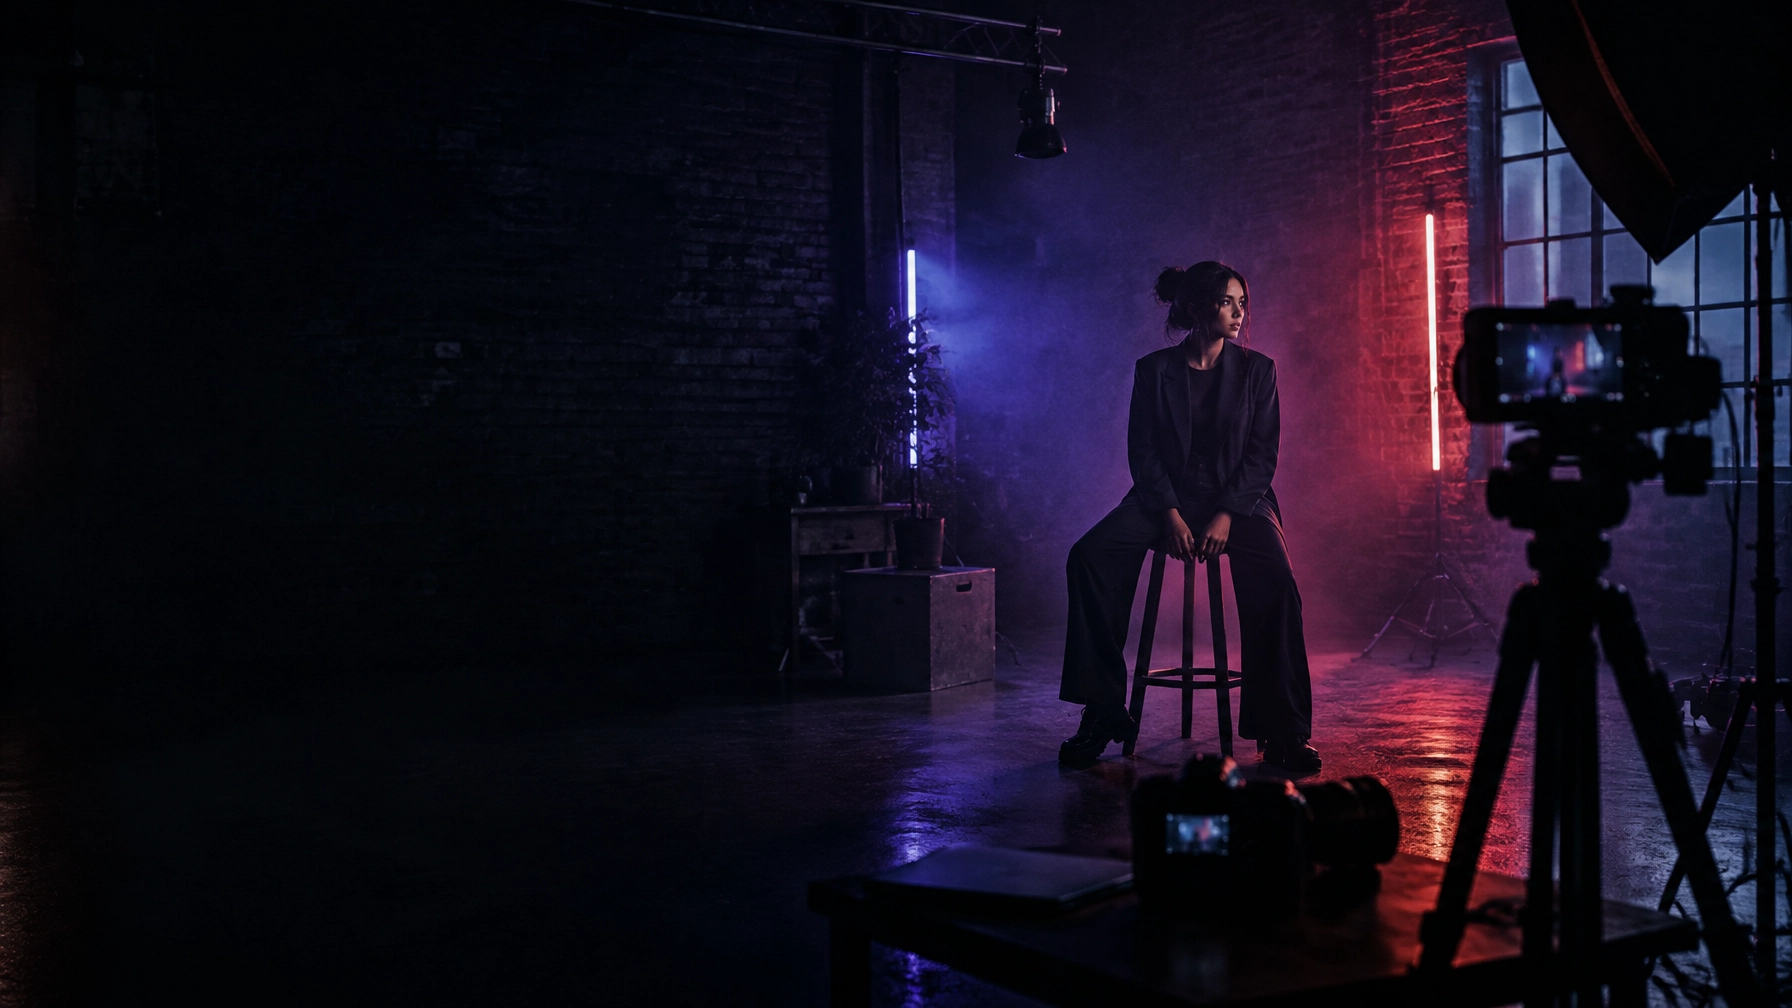
At @38, you can move between a raw industrial main floor and a cleaner studio room on the same booking. Use the darker surfaces for brand, lifestyle and editorial footage. Switch spaces for interviews, talking-head clips or review formats. Purple, red and blue lighting gives the industrial setting its own character, with no set build required.
That variety can help your calendar feel less repetitive without adding another location or a travel day. Plan which content belongs in which space before you arrive. Then batch each look, rather than switching back and forth for every post.
For current options, see Content @38 and Shoots @38. Studio-room content sessions start from £175 for up to 4 hours, with up to 8 hours available. Rates depend on the space and booking, so check the details before you plan your production budget.
Turn the footage into a publishing plan
After the shoot, match the selects to the calendar. Keep the shot IDs, edit notes and final filenames connected. Make one folder for each planned post, with its footage, stills, caption and CTA together.
Then work through the month in order:
- Pick the strongest hero asset first.
- Cut the short clips from the planned hooks and answers.
- Add stills and detail shots to posts that need a visual break.
- Schedule evergreen material around campaign dates and launches.
- Keep a small reserve of unused clips for stories or last-minute gaps.
Don’t assume every clip needs to become a post. A useful batch is not the largest possible batch. It’s a set of assets you can edit, approve and publish without turning the month into one long production backlog.
If you’re looking for a video production studio in London or a creative space in East London for a content day, @38 is in Clapton · Hackney · London E5. Tell us your formats, team size and preferred date. We respond within 24 hours. Book a content day or explore the space at at38.org.
What would you batch into one shoot day: video, stills, audio, product details, or something else? Comment below and tell us what’s on your shot list. You can also DM @38 or book through at38.org.
Leave a Reply